1. lining up the pages at the side where they will be bind, placing them between two pieces of card, and clamping them in a big metal press.
2. Use a tool to make small incisions every few millimeters all the way along the edge. (This is to ensure the glue gets to all the pages, as they were not 100% in line with each other).
3. Put a thin layer of glue along the binding edge and leave to dry. Then repeat this 3 times.
4. Once dry, I took the glued pages out of the press and glued one side of my front and back cover and stuck on.
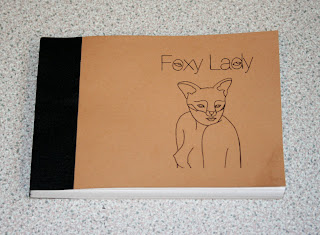
5. Finally, I chose black material to measure and then glue around the bind, to keep it in place and hide the edge.
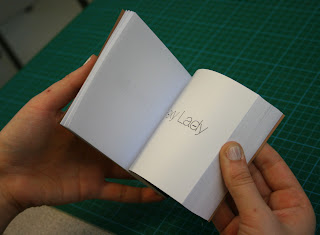
Right at the end, I used one of the guillotines to chop along the other 3 sides to make the book perfectly straight. It flips surprisingly well and am very pleased with the way it has turned out.


No comments:
Post a Comment